Hey guys! Did you try to assemble 3axis multicopter DIY frame? Today I gonna take Y6 Frame Kit for example to show you how to make the installation. The assembly way actually very conforms to a quadcopter frame, just a little difference due to the special structure. Now we start with the kit and I may not show you too much details, but you have to pay attention to the orders!
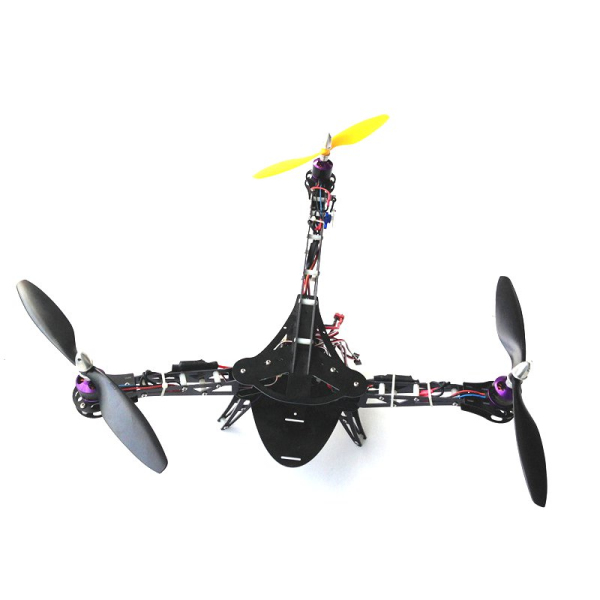
 First of all, each arm of Y6 Frame Kit will have a top motor and a bottom motor attached to the arm using coaxial motor mounting plates. And you may apply a small amount of thread lock to each bolt before fastening. Attachment of a threaded collet to the top of each motor relays on small screws included with collets. Remember to apply thread lock to each screw before fastening and reply for all six motors.
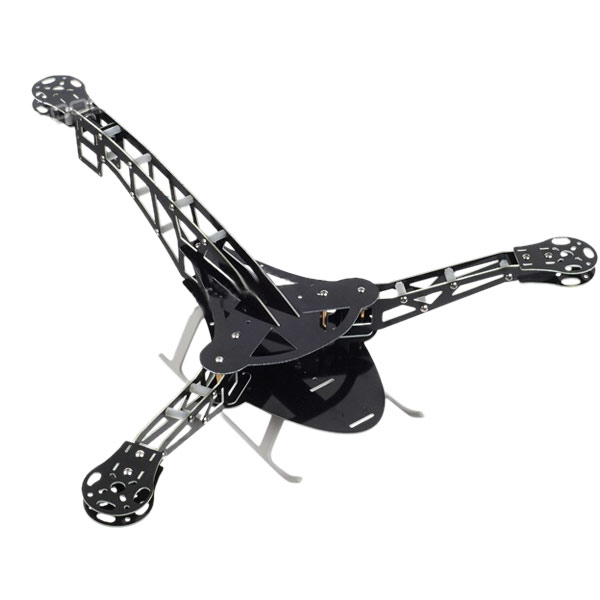
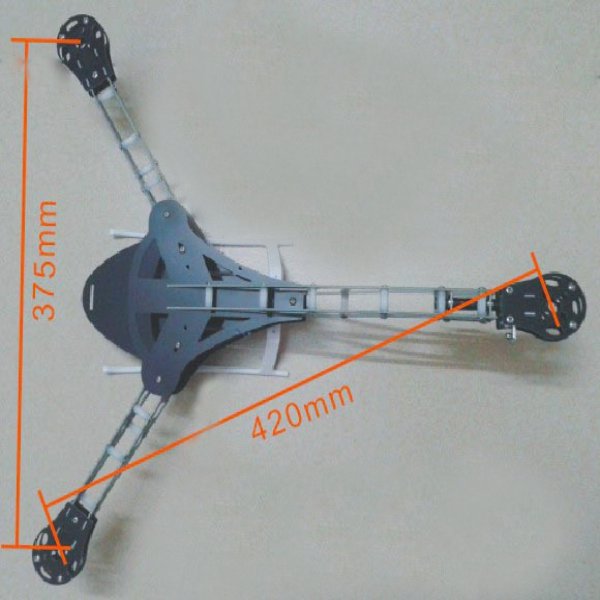
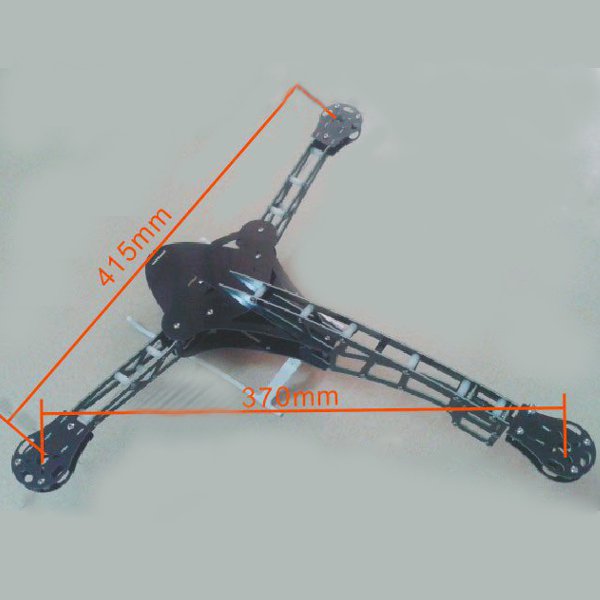
The top and bottom plates will form the main frame of the copter. We’ll attach these plates both to each other and to your copter’s arms. Y6 Frame Kit has three legs, each comprised of two C-type landing gear pieces. To assemble each leg, you have to align the two pieces and attach through four bottom holes using four 18 mm threaded spacers and eight 5 mm nylon bolts.
What’s more, the power distribution board on Y6 Frame Kit allocates power to your copter’s motors. And you may place the power distribution board in the center of the copter through the hole in the top plate, resting on top of the bottom plate. You may want to experiment with the orientation of the board to accommodate all necessary wiring.
Next, you may connect each motor to an ESC using bullet connectors. The order of the bullet connectors doesn’t matter at this point but will become important when we set motor directions. So you’d better make sure you can have access to these bullet connectors when assembly is complete. Each ESC should connect to only one motor.
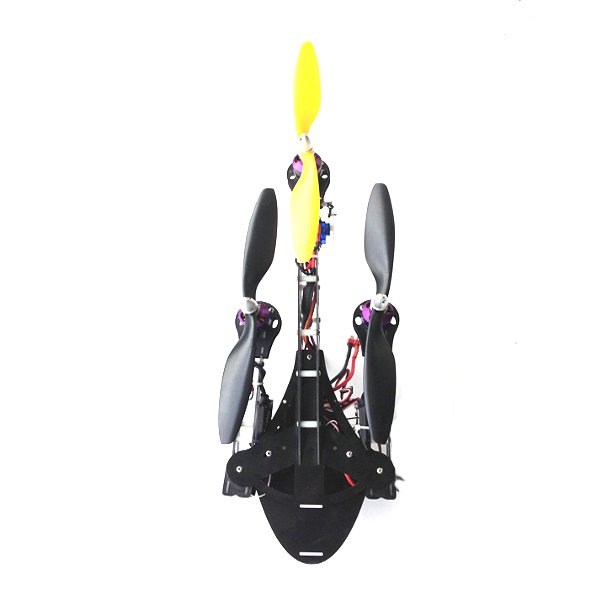
 Before flying, you have to use zip ties to secure ESCs to Y6 Frame Kit. And y also should ensure that all wires are secured so they will not be entangled in spinning propellers, not too tight around corners, not hard 90-180 degree bends. And remember not pull on the APM or other components. Always complete the previous flight checklist before takeoff!
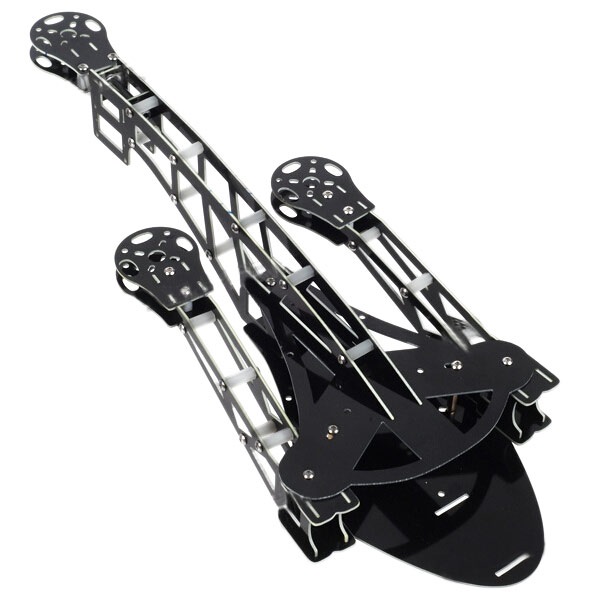
 Last but not least, Y6 Frame Kit can fold for ease of transport. To collapse the blue arms, you may remove thumb nuts and bolts from outer holes, and slide blue arms toward black arm. To collapse the legs, you can remove the bolts and nuts from the inner holes where the legs attach to the arms.